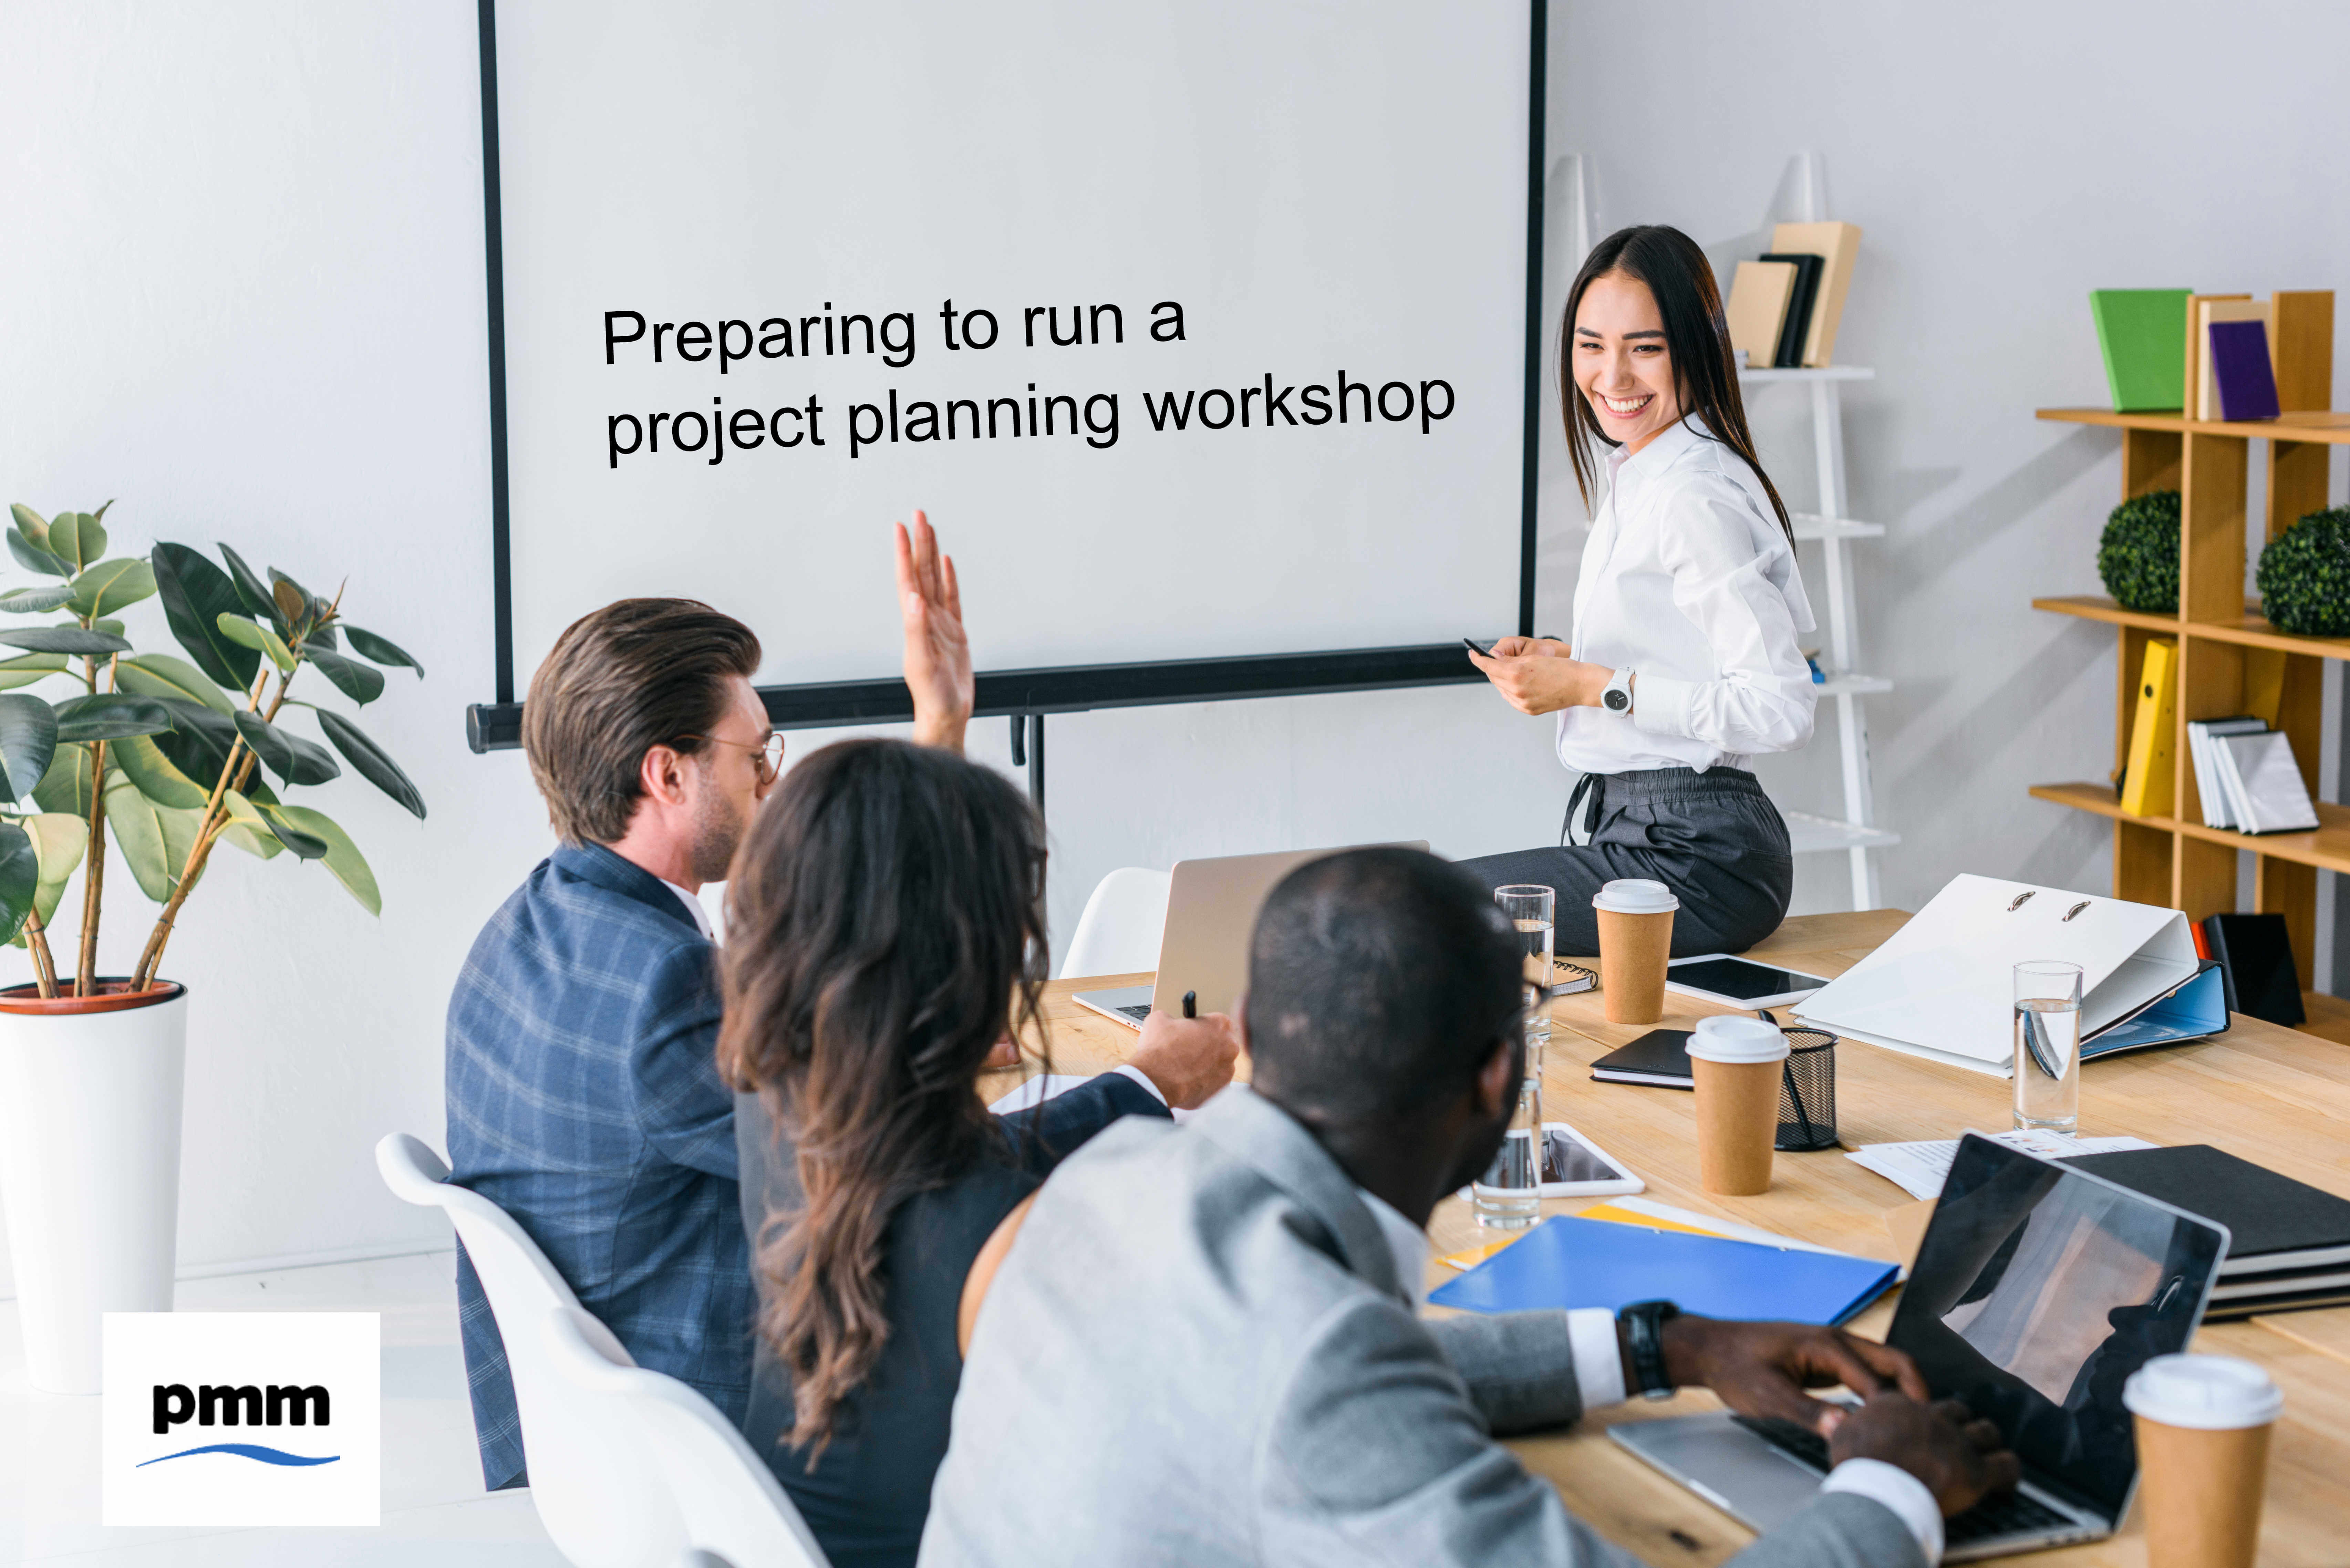
The last post provided an overview of an approach that can be used to run successful project planning workshops. This post will cover the preparation work that should be completed ahead of any workshop. Good preparation is very important. Just like studying for an exam, investing the time ahead of the event will ensure that it has the best chance of being professional and, achieving the required outcomes.
The following steps should be completed ahead of the workshop.
1. Review Available Information
I have deliberately used the word “information” as opposed to plans as, the plans may not exist. Any available information such as business case, initiation document, plan (if available), etc should be reviewed before designing the logistics of the workshop. This ensures that the workshop is based on the level of available data. It is no good setting up a workshop to create the 30 day mobilisation plan when it already exists. Likewise, if there is no business case, understanding of outcomes / deliverables, it will be illogical to hold a workshop to create a plan when there is no understanding what needs to be achieved.
2. Attendees
On the assumption information is available, work out who needs to attend the meeting. Make sure that all the relevant functions that will form the plan are included. Otherwise, you will have knowledge gaps in trying to create the plan meaning something may be missed, incorrect assumptions made, etc.
Try to minimise the number of people invited. Having too many people, the “cast of 1000′s”, will hinder progress. If one area does state they need to invite people with different skills firstly test this is true and, if so, look for opportunities where they can be invited to relevant segments in the day to reduce large numbers for the entire workshop.
3. Logistics
 Reviewing the available information should allow you to define the objectives of the workshop. Be specific so everyone has no doubt what needs to be achieved.
Book a room that will hold the required number of people and, has sufficient wall space for sticking the timelines on the wall, flip charts, etc. You want a comfortable working environment, especially as the session will probably be half to a full working day. If possible visit the room ahead of the session so you can check layout.
Send the workshop invite early so that attendees can re-arrange schedules where necessary. The booking should include the objectives and agenda.
4. Planning Briefing Pack
To give the planning session the best chance of success, you must make sure that all attendees having a clear understanding of how the session will work and, what is expected from them. This will ensure they prepare ahead of the meeting and you don’t end up with too many “I need to take that action away”.
Preparing a simple pack that outlines the:
- Objectives / goals of the session
- Agenda
- Attendees
- Background
- Approach
- Known assumptions
- Key milestones <if this is available ahead of the session this really helps>
This serves to educate the attendees, allows them to ask questions, clarify items and consider what they need to deliver so they are ready to develop a plan. This means that everyone should be ready to start the workshop without spending too much time explaining the approach.
5. Preparing Workshop Materials
Timelines
 At the centre of the workshop is the timeline (created using parcel paper that is available in most stationers or Amazon) and milestones (captured using Post-it Notes). These must be prepared ahead of the session.
At least the day before, find an area with suitable working room (meeting room with large desk, preferably rectangle). From the information collected in step 1 and objectives defined in step 3, mark-out the timeline on the parcel paper. This should be weeks, months, quarters, etc. The shorter the period, the more chance of achieving the development of a plan. If you do have dates past 1 year, I would suggest adding a heading at the end that covers future years to capture the milestones.
Going down the left hand side of the parcel paper, list the different projects / workstreams. If you have a number of functions completing the same project. You may find that they each have the same workstreams. Therefore, to make the task easy to think about and not to confuse the plan timeline, have one timeline (one strip of parcel paper) per function with workstreams.
Do not try to squeeze too many workstreams onto a timeline. You must have sufficient space to add the milestones. It is far better to add additional sheets beneath each other. Obviously you are limited by the height of the meeting room.
Milestones
 If you know the milestones, use the Post-It Notes and write one milestone on a single Post-It. When developing over multiple projects / workstreams, make sure each Post-It contain a reference for project / workstream and ID of milestone. For example, if the milestone related to the Finance function, you may choose to use FIN. You can also look to use different coloured Post-Its to distinguish workstream / project.
The aim is to create a Post-It for each milestone ahead of the workshop.
Summary
Doing as much as you can to prepare will help the workshop to go well. Make sure that the attendees have sufficient time to review the briefing pack so that they can gather additional information so they are ready.
The next post will cover running the workshop.
Planning Resources
 The Planning Workshop Framework developed by PM Majik provides all of the resources, templates and guides to set up and run a planning working. This toolkit can save a lot of time and provides you with all the steps to quickly set up a planning session. It also comes with video tutorials for each step and full support.
For more information visit Planning Workshop Framework.